
Hello readers,
In the previous article, I have told you some basics about AdSense. I hope, now you got each basics idea about AdSense protocols.
As I said previously, AdSense is the best contextual high-paying ad service among all ad networks.
Now, in this post, I m going to demonstrate how to create AdSense account for your new website.
For new bloggers, it is like an unknown foreign concept. Although, it is platform run by Google that allows bloggers to earn money from their websites.
Some Essential things you need to create AdSense Account:
First of all, you need to follow all protocols of AdSense. I have already provided you with some ideas on ‘How to Get Google AdSense Approval With your New Blog‘ article.

Remember you are allowed to make only one account in AdSense. Because Google does not allow you to make more than one AdSense account.
There are some protocols which you have to complete before applying for AdSense. They are:
- You must have website/blog. It is also essential to make sure that your website is abiding.
- You also must be above the age of 18. I am repeating, you are not allowed to apply if you are under 18 age.
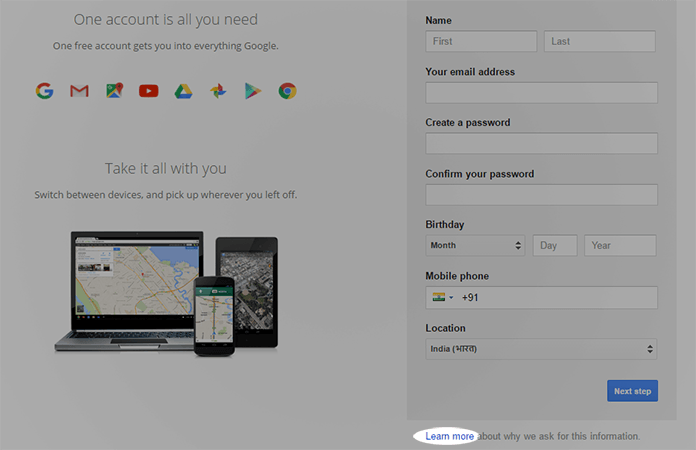
- You must have your own Gmail account. If you don’t have existing Gmail account, then create a new one.
Now let’s come to to the main procedure.
First of all, read all terms and conditions mentioned on the signup page to learn more. (Signup >> learn more).
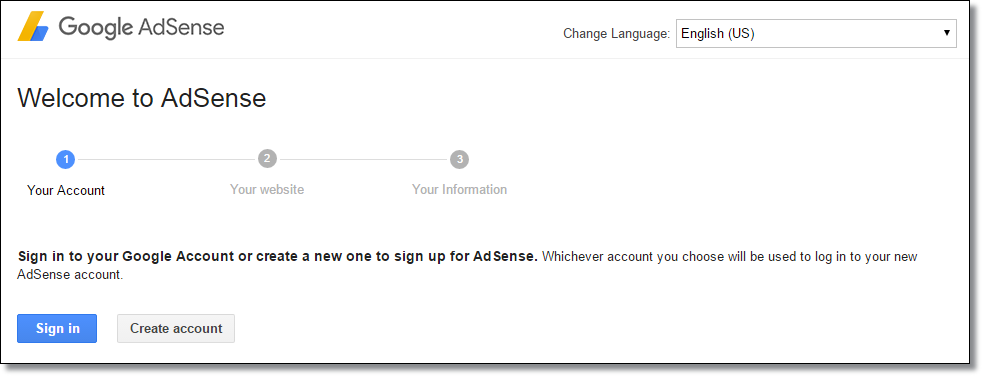
1. Now, go to the signup page for AdSense.
There is an option for creating a new account – ‘Create Account‘.
(Note: use only those email address that you have provided for your domain name while purchasing OR use an Email address with your own custom domain. For example, [email protected])
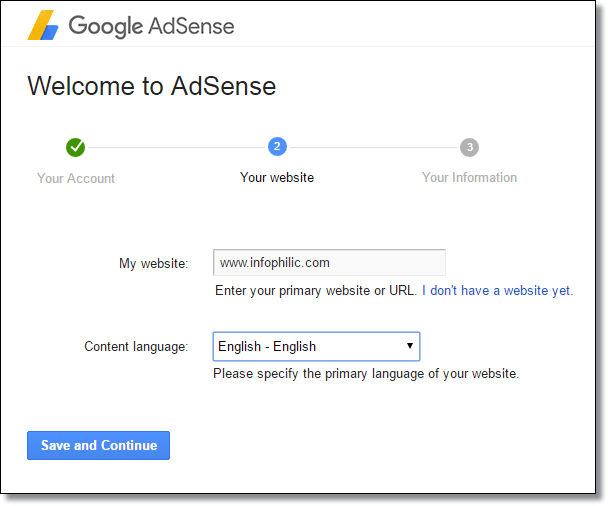
2. Provide your website details.
Here, you only need to enter your website URL and select language.
(Note: While entering website URL, make sure you have not entered your website URL with HTTP or HTTPS.)
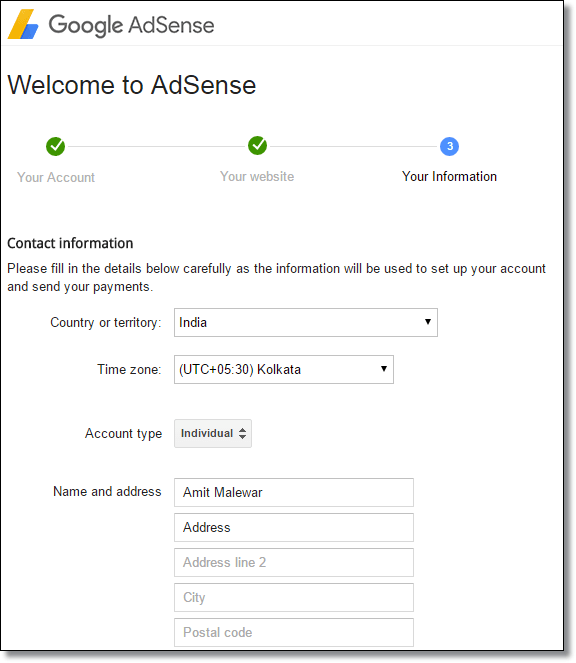
3. Provide Contact Information:
This is an essential part. So, I suggest you to carefully fill up this form.
Enter your Name and address which you have provided in your bank account details. Because AdSense will send you checks or EFT payment under that name. So, make sure your bank account name and name you entered is exactly the same.
4. AdSense policies:
Before accepting all AdSense policies essentially read all the Google AdSense program policies.
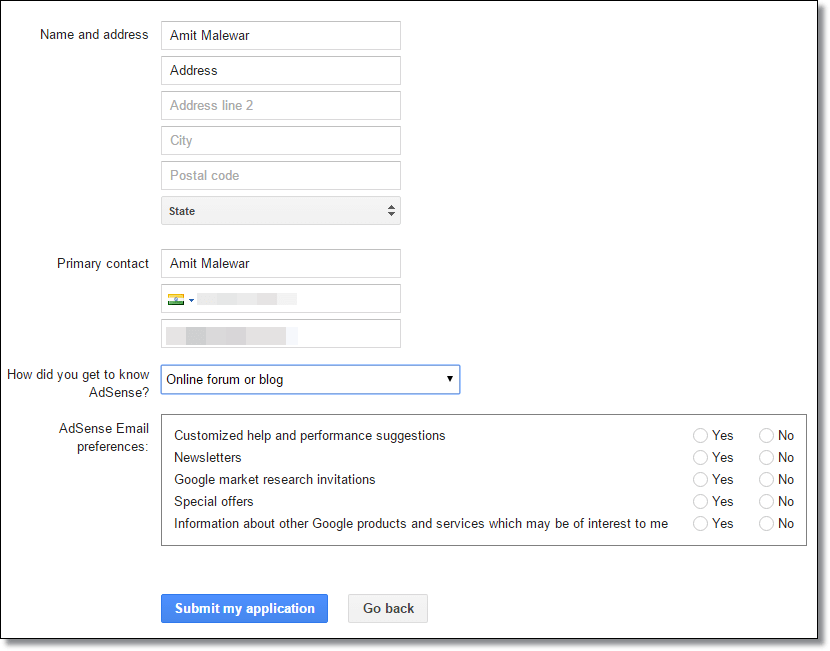
Now, click on Submit my application button. You can review your details on the next page.
Now, Google AdSense team will review your application and website. It may take 10-20 days for the verification so don’t panic. Keep calm and hope for the positive response. Once you get approved by Google AdSense you can read some effective tips to increase your AdSense revenue.
