
WordPress is written using PHP scripting. To protect web servers from abuse, there is a time limit set for how long a PHP script can run. Often, Hosting providers have set up these values.
When the script reaches the desired value, it generally throws maximum execution time exceeded error. This maximum execution time exceeded error is nothing but a Fatal error.
Although, fixing this error is relatively simple. In this guide, I will tell you how you can easily fix the problem.
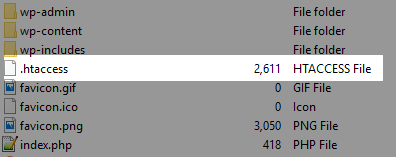
1. Increase PHP maximum execution time using .htaccess
- Login to FTP or SFTP.
- Navigate your
.htaccessfile from the root directory. - Edit
.htaccessfile ( How To Edit WordPress .htaccess File)
Add the following code:
php_value max_execution_time 300
Through this code, you are simply gonna increase maximum execution time to 300 seconds. You can set this value as you want.

- Now, check by reloading that blank page. Your content will appear back to normal.
2. Increase PHP maximum execution time using php.ini
You can also increase PHP maximum execution time by modifying a php.ini file on your server.
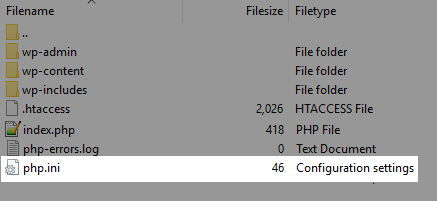
Simply add the code below:
max_execution_time = 300
3. Increase PHP maximum execution time using Plugin:
There is also a plugin available to ease this task.
WP Maximum Execution Time Exceeded:
The plugin works by adding and deleting the necessary code to the .htaccess file. Meanwhile, using this plugin, you don’t need to delete the files to remove the code.
Note: Before installation, take a complete backup of your website.
- Now, from Dashboard >> Plugins >> Add New >> WP Maximum Execution Time Exceeded.
- Install and Activate the plugin.
That’s it.
Conclusion:
Hence, you have successfully increased PHP maximum execution time in WordPress. I hope, you find this guide helpful. Let me know in the comment section below.