
Whenever we talk about cache plugins a name come in mind, W3 Total Cache. It is one of the most downloaded plugins on the WordPress plugin directory with 1+ Million Active Installs. It is a power pack plugin with lots of features.
Let’s have a look on some of its features in shorts.
- Page cache
- Object cache
- Database cache
- Minify (It minify all CSS, js and HTML code)
- Browser caching using cache-control, future expire headers and entity tags (ETag) with “cache-busting”
The plugin has 14 pages for the complete configuration. It is quite complicated to configure this plugin. To make it simple I am writing this easy tutorial to configure W3 Total Cache on your blog or a website.
Installing W3 Total Cache
- Login to WordPress Admin area of your blog.
- Click plugins from the left-hand side navigation.
- Click Add new and search for “W3 Total Cache” in the search bar located on the right-hand side of the screen.
- Click on Install Now
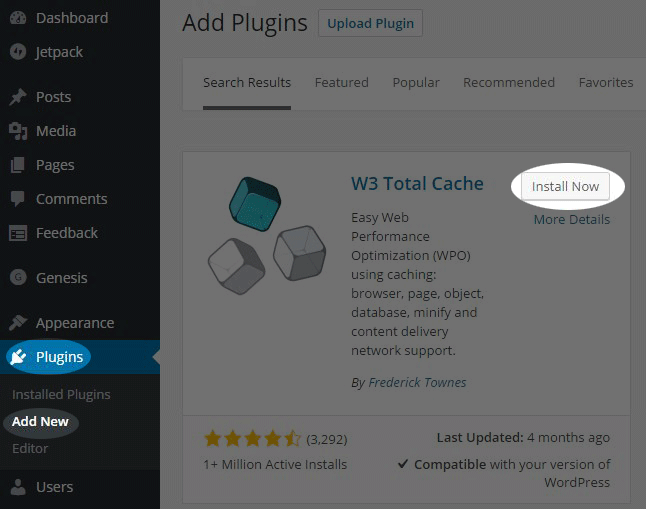
After successful installation and activation, you can see new tab [Performance]appears on the left-hand side navigation in WordPress admin area. All the following settings work fine with the all shared hosting networks.
Configuring the plugin
To configure this plugin login to your WordPress admin area go to Dashboard > Settings >> W3 Total Cache

General Settings
Toggle all caching types on or off (at once):
I recommend you not to use this option. This option enables all the feature at once.
Preview mode:
Enable this while configuring the plugin. It lets you test configuration changes before they impact on your users. Don’t forget to disable it once you did with configuration.
Page Cache:
Enable this and select Disk Enhanced page cache method. This will cache you all existing pages to the cache directory.
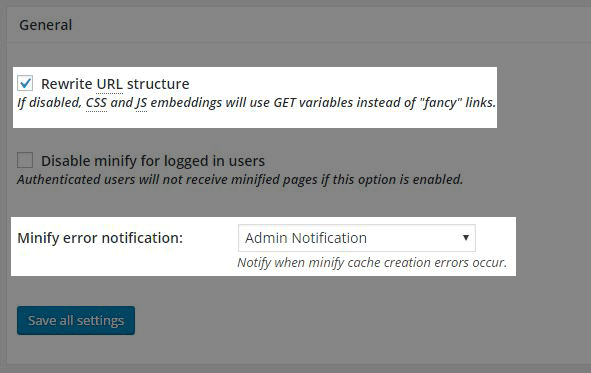
Minify:
If you are using CloudFlare, no need to enable this as I found Cloudflare works great with minification. Not using CloudFlare? You may enable minify. Keep the rest part as it is.
Note: If facing any issue on the website go with manual minify mode.
Opcode Cache:
This helps to keep cache version updated to the latest one.
Database Cache:
This enables database cache for database queries. Enable it and choose disk in database cache method.
Note: If you are using database cache make sure you have disabled a cache for login sessions.
Object Cache:
This reduces execution time for common operations. Enable it and choose Object cache method to disk.
Browser Cache:
Enabling browser cache reduces server load and decreases response time by using the cache available in site visitor’s web browser.
No need to make changes in CDN, Reverse Proxy, Monitoring, and so on.
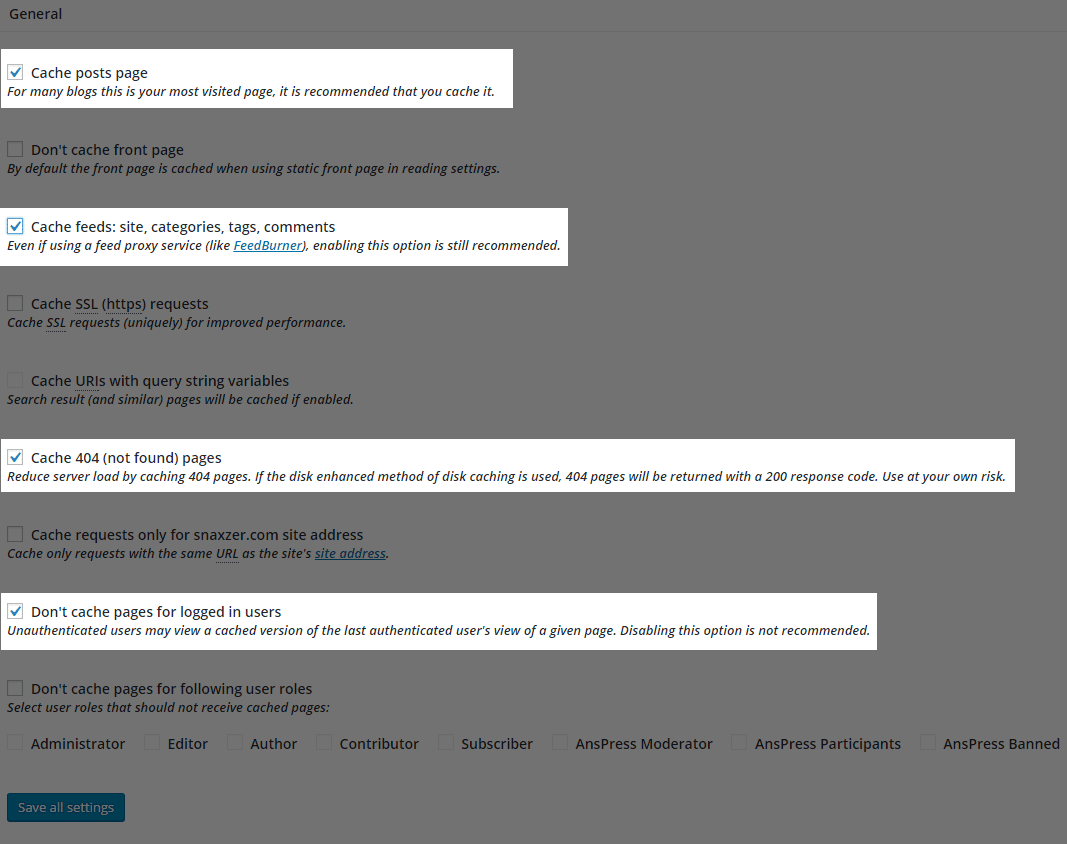
Page Cache
In page cache general section enable,
- Cache front page
- Cache feeds: site, categories, tags, comments
- Cache requests only for localhost site address
- Don’t cache pages for logged in users
Minify
No need to make changes in Object cache settings
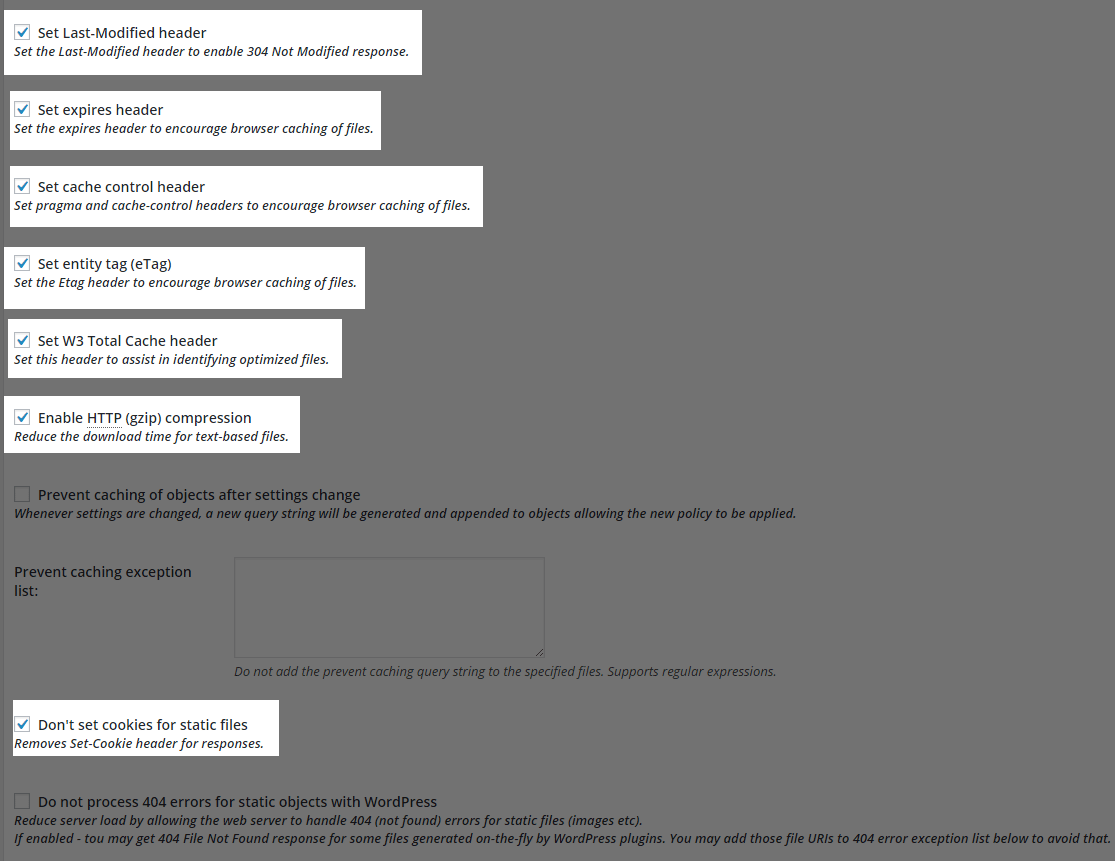
Browser cache
In browser cache general section enable,
- Set Last-Modified header
- Set expires header
- Set cache control header
- Set entity tag (eTag)
- Set W3 Total Cache header
- Enable HTTP (gzip) compression
- Don’t set cookies for static files
Extension
You can install multiple extensions that are available to install. Currently, W3 Total Cache plugin has following extensions.
- AMP – Adds compatibility for accelerated mobile pages (AMP) to minify.
- CloudFlare
- FeedBurner
Automatically ping (purge) FeedBurner feeds when pages/posts are modified. - Genesis Framework
- WordPress SEO by Yoast
It configures W3 Total Cache to comply with WordPress SEO requirements automatically.
