
While browsing on the internet, you might have noticed a popup appears with two buttons allow or not now. It is nothing but the push notification service from the website you browsing through. Technology getting advanced and as a good blogger, you have to provide all the possible features to your readers.
Push notification is a service which sends real-time notifications to your readers. All they have to do is, just tap on allow button no need to feel any form from the user end. It is a very simple way which allows your readers to subscribe your blog notifications.
There are many services available to make your blog push notification ready. I have tested many of them and found [eafl id=3692 name=”PushEngage” text=”PushEngage”] is an awesome service that allows you to send these push notifications. In this tutorial, I am going to tell you easiest way to enable push notifications for your blog.
In this tutorial, I am going to tell you all steps to enable push notifications for your blog.
So, let’s start.
Create Account on PushEngage
First, create an account on PushEngage. PushEngage scaffold allows you to send unlimited push messages. A free account allows 2500 to subscribe your push notifications.
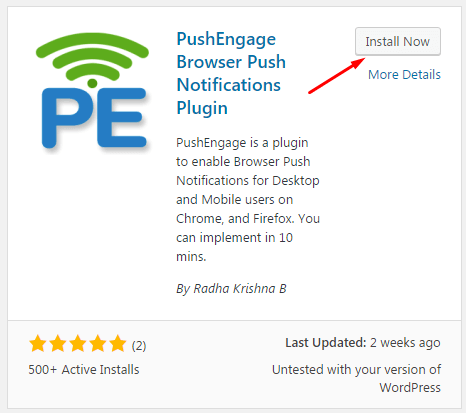
Install PushEngage Plugin
Once you have done with the account on the PushEngage, move over the WordPress dashboard. In Plugins > Add New and search for “PushEngage”. Install and activate the plugin. [Link to the plugin]
Configure PushEngage Plugin
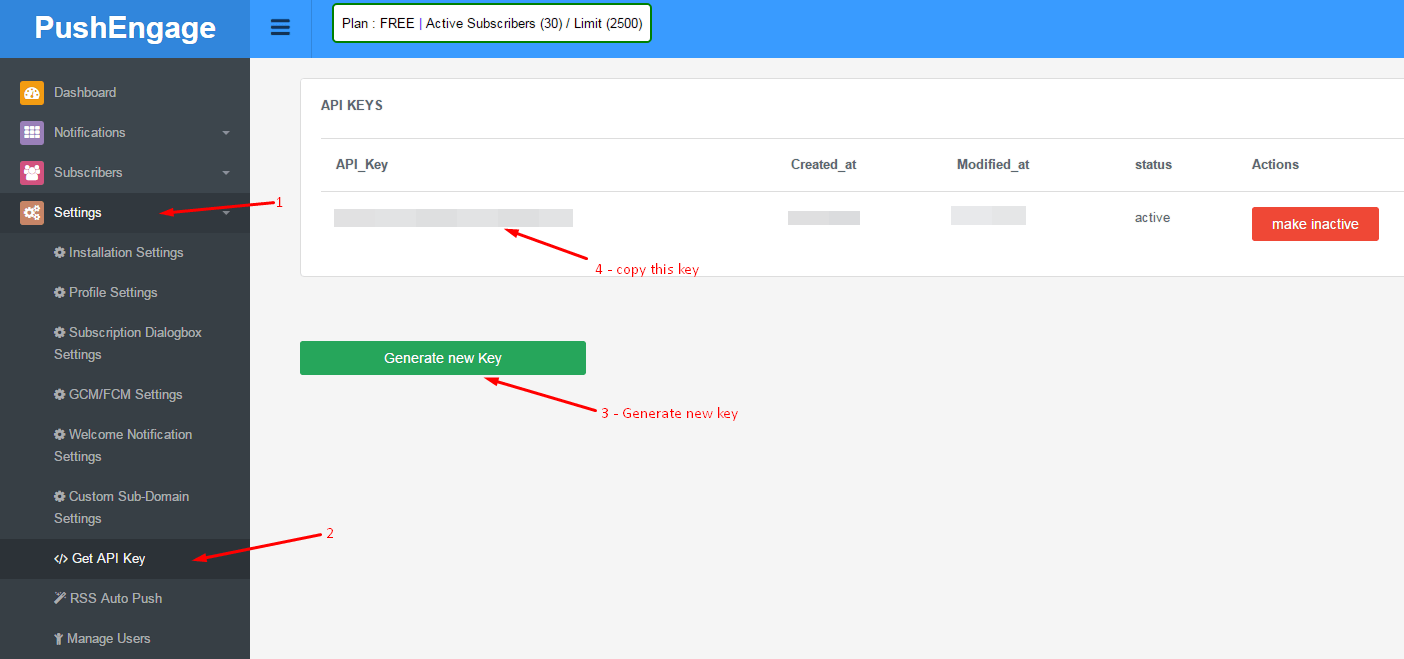
To configure the plugin, click on PushEngage > Dashboard. To activate the plugin you need to get the API Key from your PushEngage account.
Get your API Key from the PushEngage website dashboard. See the screenshot for further assistance.
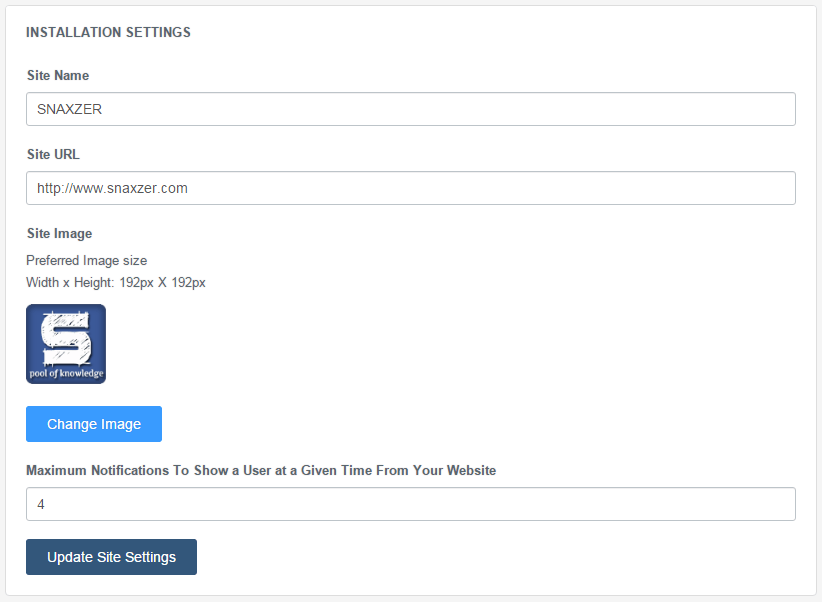
Once you logged in, add your’s blog logo and name. It is essential for the branding of your push notifications.
To do this, Under the Plugin Dashboard go to Settings > Installation Settings & add your site image.
Now, click on dialogue box settings to configure the prompt that users will see to subscribe to your push updates.

There is a Dashboard tab under the Plugin’s navigation on the left-hand side, it will show you the overall analysis and information about subscribed users.
You can click on the ‘Send A Notification’ tab to send a custom push notification anytime.
GCM Settings:
GCM (Google Cloud Messaging) API Key give you your subscriber ID’s that have subscribed to your notifications.
For that purpose, you need to create your GCM account.
Welcome Notification:
This feature is used to send a welcome message notification to your subscribers. Although this step is optional, add a good welcome message for your subscribers.
How to Send Push Notification?
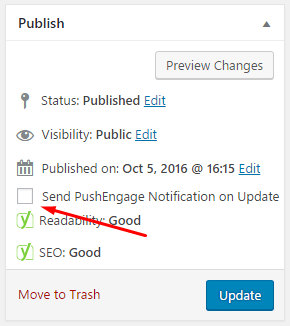
In your writing section, there is an option to send push notifications. Check it while you writing or publishing a new post.
Register for PushEngage
So this is how you can make your blog push notification ready. Do share your experience with PushEngage in our comment section. If you find this tutorial helpful, please share with your friends on social networks.
)
I truly prize your function, Wonderful post.