
You sometimes want to delete a page from your site for many reasons. When you take a step forward, you are going to remove that URL too. But when visitors visit that URL, it usually throws a 404 not found error.
That’s not what you want. In this guide, I will explain the choices you have and how to make them.
First, decide whether you really want to delete a page that has a proper equivalent on your site or you want to redirect it.
I recommend creating a redirect of the page even when only a smaller part of the visitors would benefit from that redirect. It is always a good alternative if the other option is for all your visitors to get a page saying ‘content not found’.
- For redirection, Read my guide on How to Create Redirects in WordPress
When you redirect that deleted page URL to another URL, make sure the redirect you use is a so-called 301 redirect. By doing so, Google and other search engines will assign the link value of the old URL to the URL you redirected the visitors to.

If you still wanna delete the page, let’s move further to know more about it.
First of all, take a backup of your site. This backup will come in handy if you ever want to restore your website. For the backup,
- Go to your dashboard >> Tools >> Export section
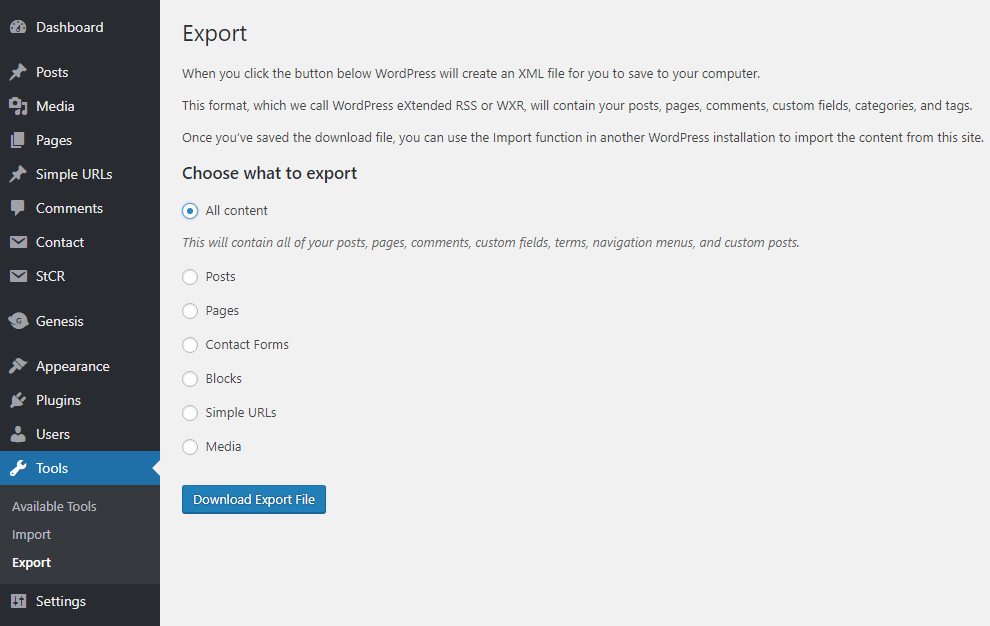
The Download Export File button will export all your posts, pages, categories, tags, comments, etc.
It will not back up your media files and uploads. For that, you will need to click on Media and manually download all your files.
Now, let’s move toward the main process.
If you wish to delete a WordPress page or post,
- For posts, go to Posts >> All Posts and for pages, Go to Pages >> All pages.
- Move your cursor to the post or page that you want to remove.
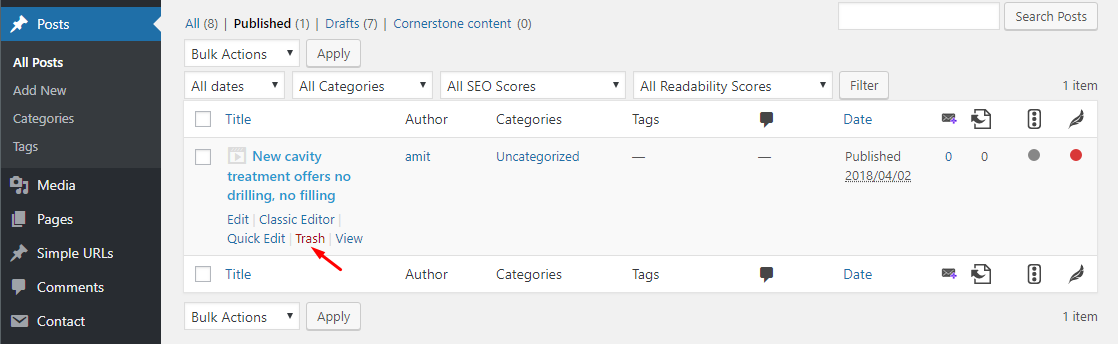
It will appear some options including Edit, Quick Edit, Trash, and View.
- Select Trash.
This will move the Page/Post to the Trash.
- You will see the notification on the top of the page ‘selected post or page moved to the trash’.
For bulk delete, you can use the bulk action tool to perform the operation. Refer screenshot below.

After that, you can permanently delete it or even restore it by visiting the Trash section which appears at the top of the screen.
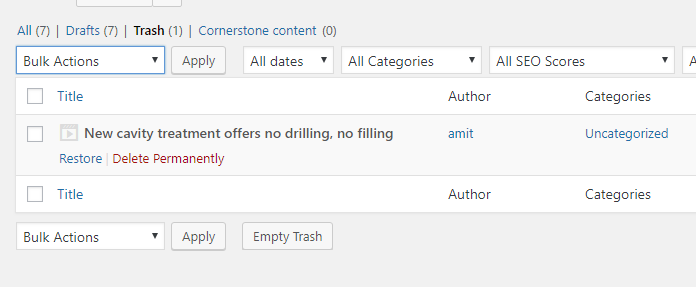
Once you visit it, you will see the previously trashed item. Moving the cursor on it appears two options named ‘Restore‘ or ‘Delete Permanently‘.
If you decide to delete permanently, make sure you send the proper HTTP header: a 410 content deleted header. 410 means “content deleted” and is thus more specific. If a URL returns a 410, Google is far more certain you removed the URL on purpose and it should, therefore, remove that URL from its index. This means it will do so much quicker.

Yoast Premium offers the best way to do this. It includes a redirects manager that serves 410 headers and automatically asks you what you want to do with a certain URL when you delete it or change the permalink.
That’s all about deleting a WordPress page or post. Hope you find the guide helpful. You might like to read my other guide to Setting up the Perfect WordPress SEO Permalink Structure.
