
When it comes to getting start with your blog, WordPress is the most beneficial platform that stands top above the rest. Although WordPress is also a complete content management system and is a great way to build many different types of websites. But, before you start, you have to choose a web hosting for your blog/website.
There are many hosting companies available. Among all, Bluehost, web hosting company stands at the top that officially recommended as number-one recommended hosting service for WordPress.
Bluehost Offers features Like:
- Premium customer service, reliability, and usability
- Custom-built servers that serve consistent and reliable hosting
- Quickly get started with our one-click WordPress install provided by MOJO Marketplace
- Expert, in-house technical support provided 24 hours a day, 7 days a week
- Unlimited websites, email accounts, and domains – all on one account at an affordable price
- No gimmicks, no contracts. Enjoy the comfort of a 30-day money back guarantee and the option to cancel at any time.
Bluehost serves better and safer web for everyone. It enhances their customer ability to build an online presence as unique as they are.
Get the special offers on Bluehost web hosting by clicking here.

Offers include 1. Free domain for a year 2. shared hosting at $3.95/month for 36 months.
Don’t miss it, be quick and register your account on Bluehost.
How to Register a Bluehost Hosting Account?
Registering an account boosts the process to think of a domain name you want to use.
Open Bluehost’s home page,
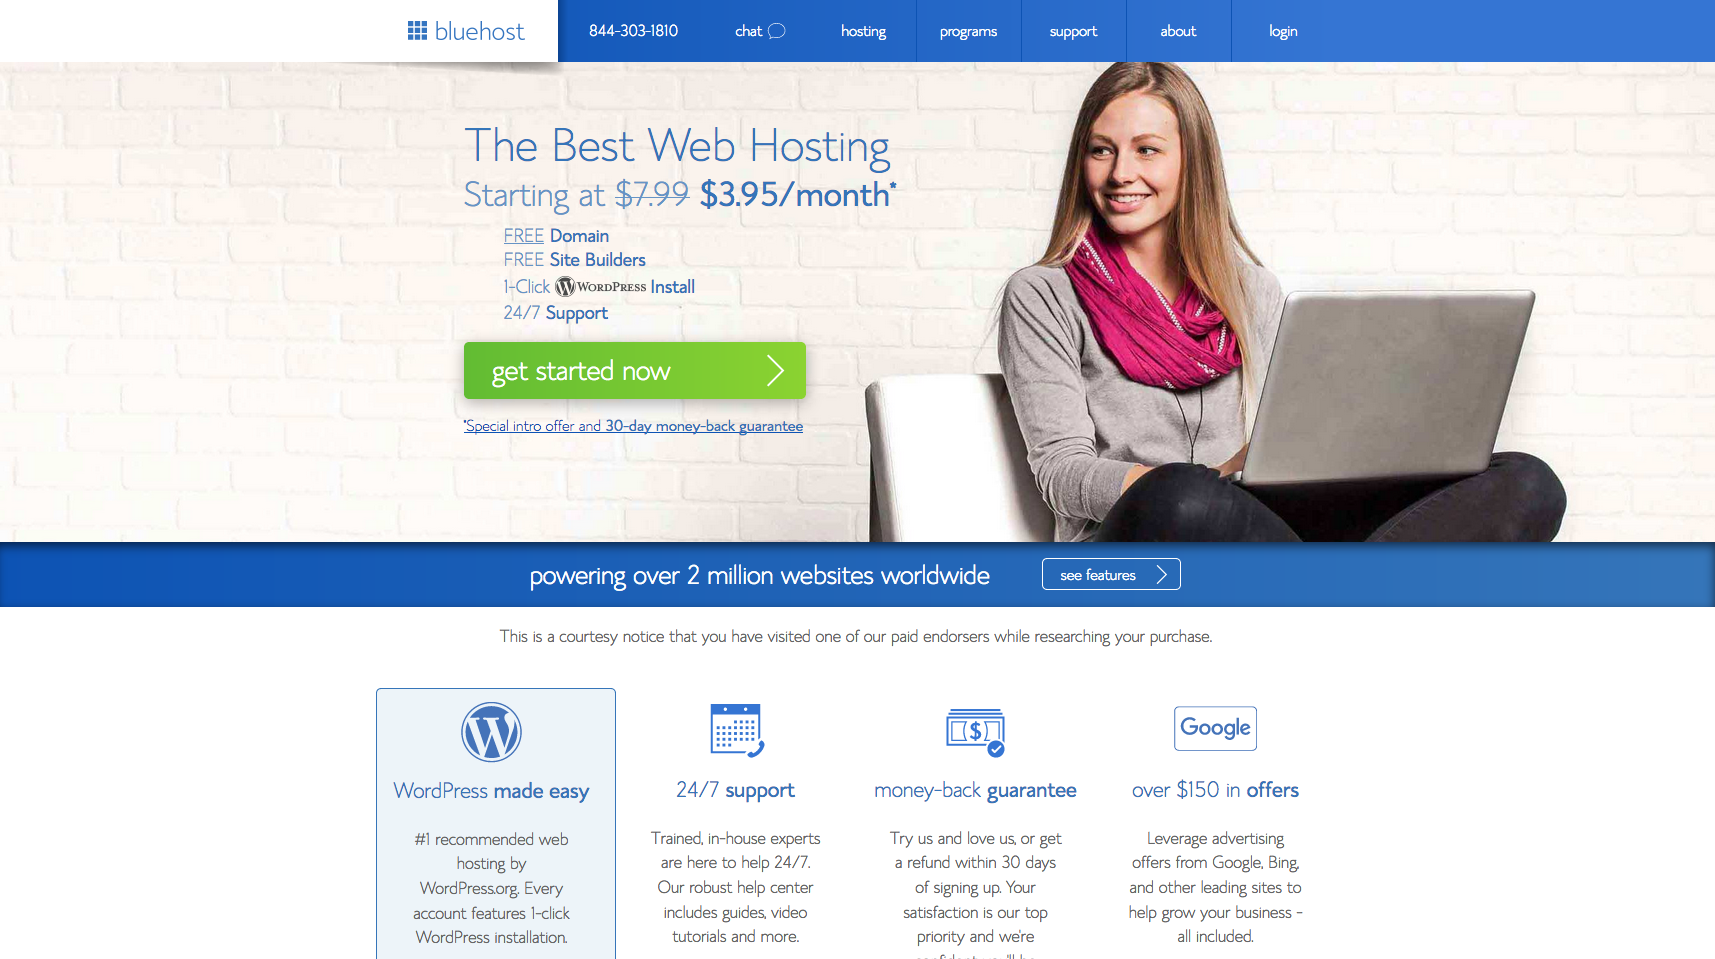
Click get started now (a green button). This will take you to the signup process. So before you register, select your plan.

Now, you have to choose a domain name for your blog or website. If, you have already bought, enter the name. (Here, you have to go few steps further to make sure you get your DNS pointed to Bluehost.)

Once you did with entering the domain name, you have to fill your personal information there.
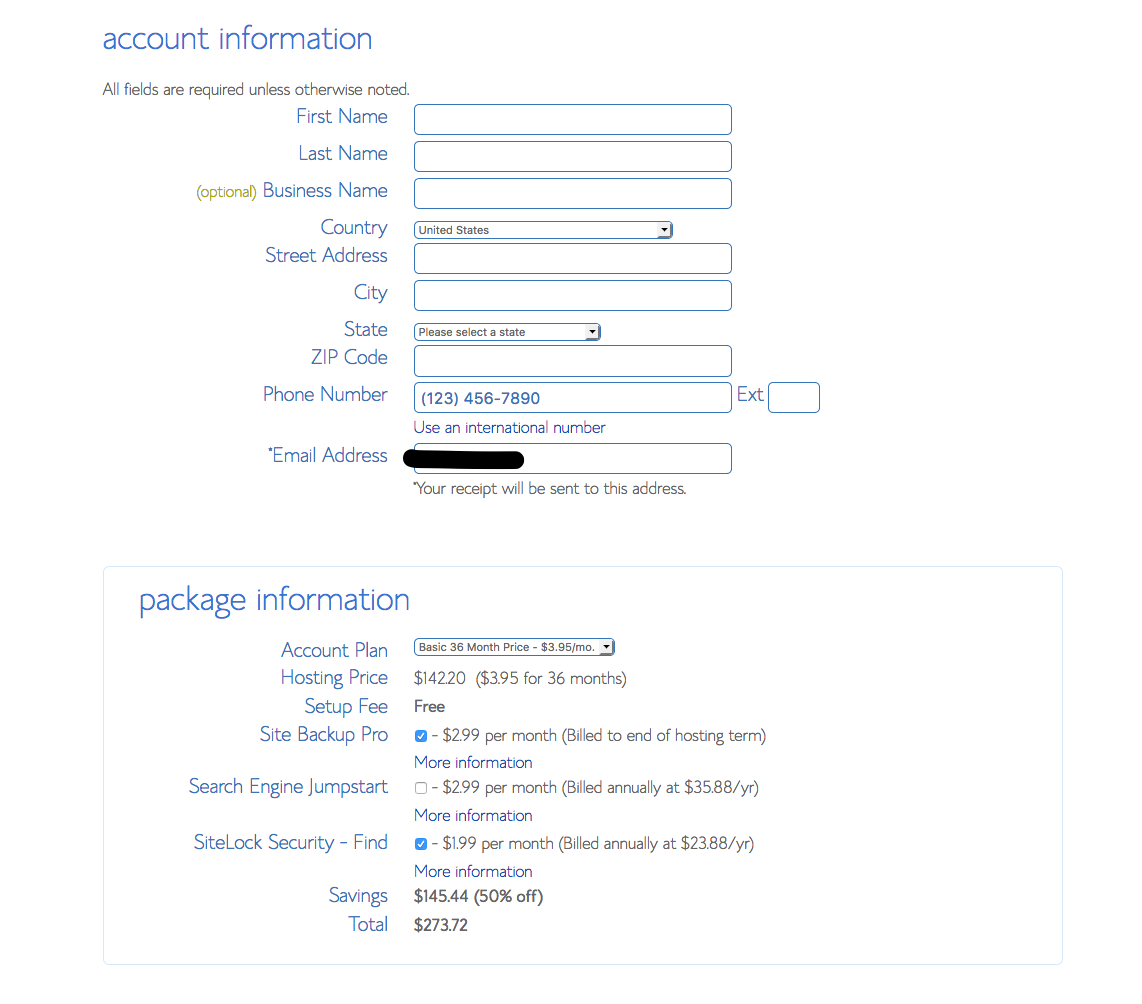
Now, choose a hosting package as per your need. I recommend using a 36-month hosting term to save your money.
During the signup process, Bluehost offers other offers that you can include at your discretion.
After that, click the Next button to complete your purchase by filling payment information.

Hit Submit button, now it will ask you create a password for your account. Hit create your password button.

Create your password and repeat the same in the second input field, check the terms and policies and hit NEXT button.
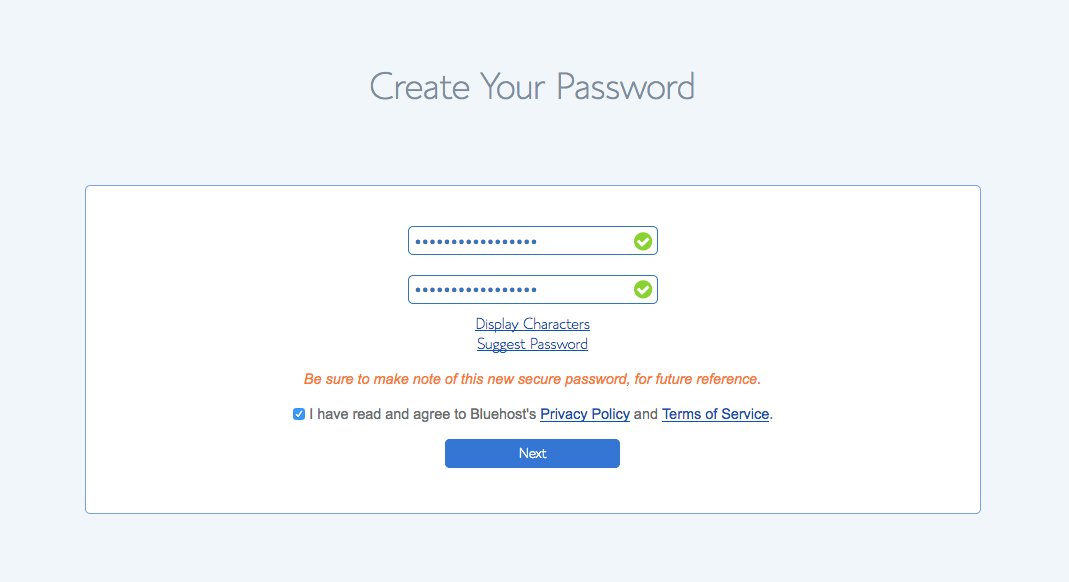
Now that you are all set up by creating the account.
- Related read: Two ways to install WordPress
Installing WordPress:
It seems like a complicated task, but Bluehost makes it easy for you to do by using the new MOJO Marketplace for installing WordPress.
- Log in to your hosting account and go to your cPanel.
- Scroll to the section titled “MOJO Marketplace” and choose the “One-Click Installs” button. It will redirect you to a page inside MOJO Marketplace called Scripts and Platforms.
- Here, click on the WordPress icon. An Installation window will appear. Click on start button to start the WordPress installation process.
Now, follow these steps:
Step 1:
- Select the domain where you want to install WordPress.
- Click on Check Domain to make sure the domain is assigned and pointing to your account.
Here, a warning will appear with the message ‘you are overwriting files’. But as long as you don’t have another website built yet, you can check the box and continue. But, if, you already have built another website, you need to make sure you’re not overwriting something important.
Step 2:
- Click on Show Advanced Options and create your own username and password.
- Make sure that the “Automatically create a new database for this installation” box is checked unless you have a database already set up that you want to use.
Step 3:
- Read all the terms and conditions carefully.
- Now, check the box that indicates, ‘you’ve done so’.
- Click ‘Install now’.
It will appear a progress window that shows you how far along the installation is.
After complete installation, it will provide you with your site URL, the admin login URL, your username, and password. You will also get a copy of this information, except your password, in your email.
Now, you can log in to your WordPress account by going to the admin login URL. Enter your username and password and you will get access to your WordPress dashboard.
Sign Up from here to the Bluehost hosting to get special offers.