
In today’s world website speed is a crucial element to getting good ranks on the web. Website speed also aids in indexing your site fast in the various search engines. Fast indexing will result in more organic visitors.
There are lots of factors that can boost up speed for your WordPress blog. Among all of them, CDN is one of the factors that may help you to speed up your WordPress blog.
What is CDN?
CDN is an abbreviation for the Content delivery network. It is a system of distributed servers that deliver your web content to a user based on the geographic location of the user.
During the startup, paid CDN is not affordable for all users. So here in this tutorial, I’ll tell you how to setup Cloudflare for your WordPress blog.
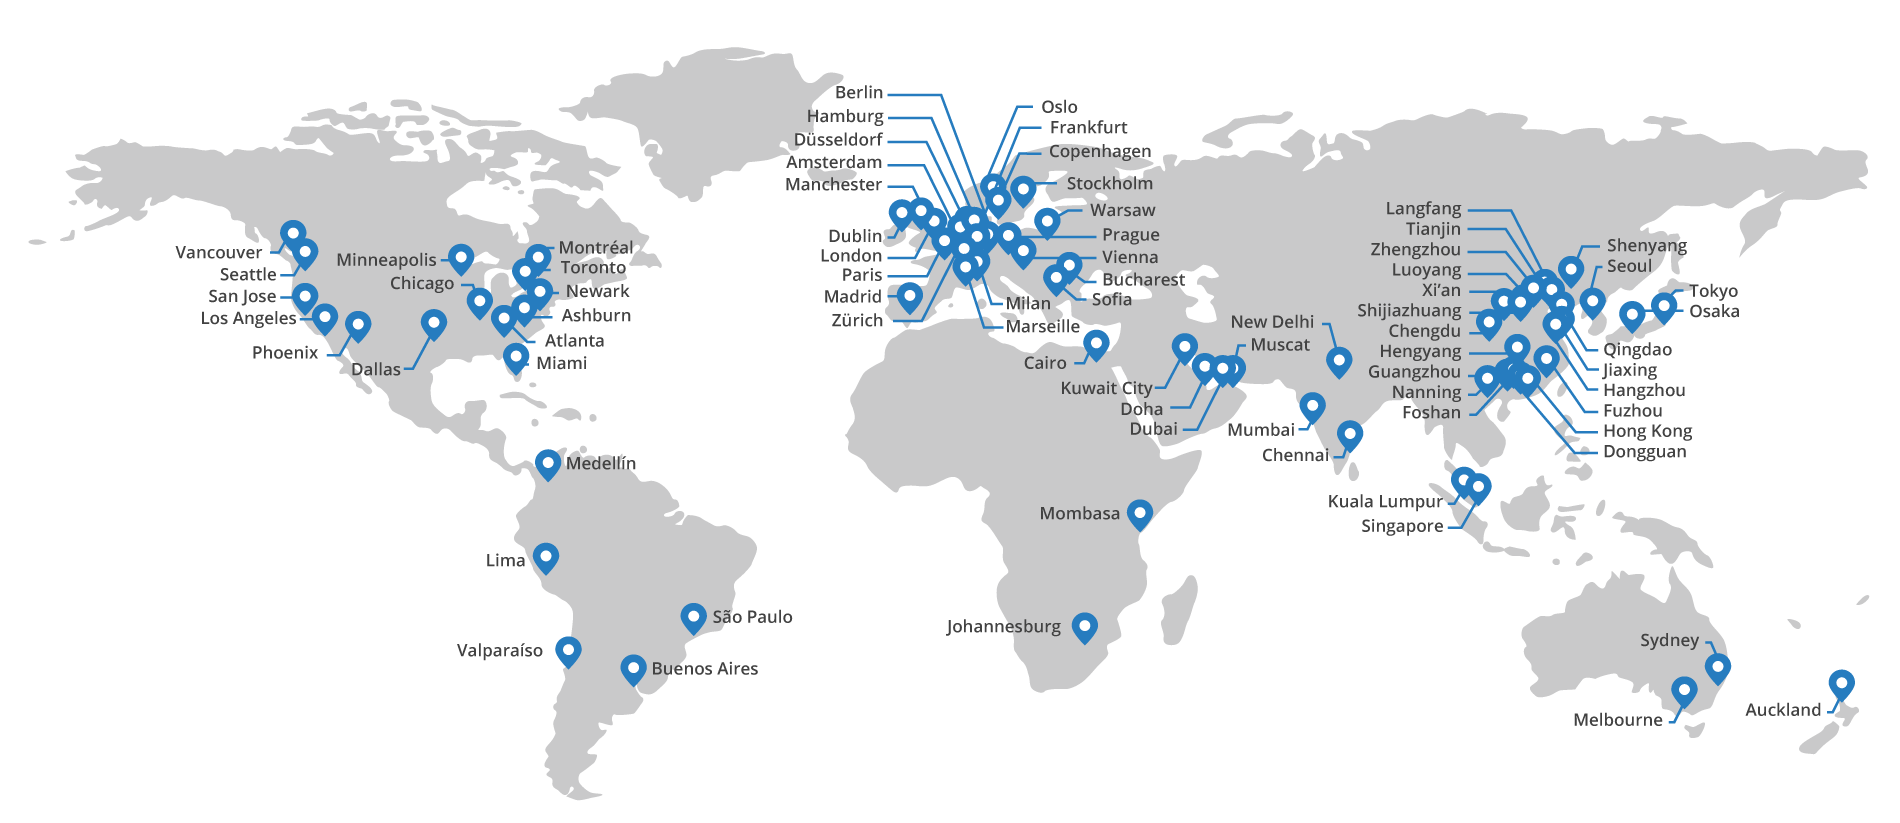
If you have a self-hosted WordPress blog, Cloudflare is the best option as a free CDN. Cloudflare is a good CDN service with more than 50 data centers across the globe. You can see the image below showing all the data centers.

There are two ways to Setup free Cloudflare CDN on your WordPress blog.
- Using hosting Cpanel
- Manually from the CloudFlare’s official website.
So, let’s start with method 1.
Setup Cloudflare CDN using Cpanel
- Log in to your hosting Cpanel
- On Cpanel go to Cloudflare section (refer below picture)
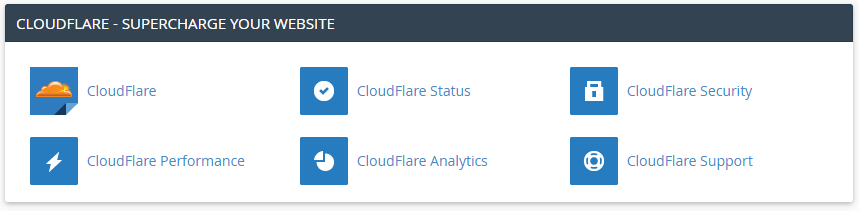
Click on Cloudflare (first icon in the above picture) you will get a window as shown in the picture below.

Click the cloud option to activate Cloudflare on your site. Done!!
Activate using Official website
- Go to Cloudflare CDN official website.
- Sign up a new account if you don’t have any.
- Click on Add Site
- Enter your site URL and Begin scan.
- Once, scanning completed click continue setup
- Check if any record left during a scan if so you can add it manually.
- Continue, it will ask you to select a CloudFlare Plan, choose a free plan (you can choose paid if you want)
- Click the Continue button, it will ask you to change your Nameservers.
To change Nameservers, you have to follow the following steps.
- Log into your hosting Cpanel
- Under the Domain section,>> Advanced Zone Editor
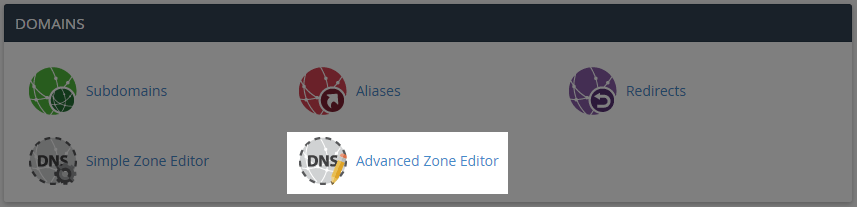
After that select your domain and change nameservers to the nameservers that are provided by Cloudflare during Setup. Changing Nameserver will take some time to propagate all over the internet. Your site may be down in some regions for some time.
So, this is all about the Cloudflare setup. You can use a cache plugin to add more speed to your WordPress blog. W3 Total Cache plugin has a special integration with Cloudflare.
Hi, I use newspaper theme… have a paid ‘Positive’ SSL from Hostgator and tried to configure Cloudflare recently mainly to try and increase speed- I integrated it in my WordPress site (www.plarecon.com) using Hummingbird plugin (the integration is similar to WP Total Cache that u mentioned in another post of urs).
But after the CDN routing, the site speed visibly and drastically decreased- clearly am doing something wrong… In Cloudflare- after searching the Cloudflare forum a lot, I set the SSL at- full(strict) with Universal SSL- So, I believe, browser to Cloudflare is encrypted by universal SSL and Cloudflare to the origin is by my paid ‘positive’ SSL. It’s working but the initial latency in loading the site and overall gross delay. The Getmatrix score decreased from 70 to 62.
With WWW. https://www.sslshopper.com/ssl-checker.html?hostname=www.plarecon.com shows the website certificate which in the Hostgator certificate, I rechecked, says Positive SSL but here, says Let’s Encrypt. https://www.sslshopper.com/ssl-checker.html?hostname=plarecon.com shows the Cloudflare certificate…
Where am I going wrong and how can I improve my site speed. (Am on the basic shared HostGator plan)
Hello Dev,
You can not use own SSL certificate with Cloudflare free plan.
To solve SSL certificate difference, make sure you have enabled Proxied for both naked and www version of the domain under DNS section.
You can follow this guide to improve your site speed: Increase page loading speed of Newspaper theme
Let me know if this helps.
All the best!
After everything, My site menu icons, search icon and view are not showing on mobile view.
How do I resolve this? Thanks.
Disabling CSS minification at CloudFlare’s end will solve this
Hi, how much time could be down the domain when you have done the change of DNS of your hosting to cloudflare? Thanks
Mostly there is no downtime during DNS propagation. I recommend not to use Flexible SSL on the site during DNS Propagation as Certificate takes some time to initialize and during this period site may so SSL error.
Can i use w3 total cache or wp fastest cache in newspaper theme?? Because i think super cache don’t do that well for my site.
Yes Subodh, you can use either W3 Total Cache or WP Fastest Cache plugin with a Newspaper theme. Just remember you should not enable minify option on both CloudFlare and plugin. That’s it.
does it effect my SEO ? if i use cloudflare
Cloudflare should help your SEO efforts because CloudFlare helps speeding up the delivery of content on your websites to your visitors.